42 Courses
  60 Downloadable Resources
  406 Canva Templates
 Back to: Lesson Collection 1
carriage Frame

How to build the framing?
Intro – in this video we will show you what framing we use for the creation of the carriage.
We will include all the details you need to know so that you can create this amazing design too.
Our philosophy is that it’s better to create a custom-made solution that is professional and sturdy so you will need to work with a welder and not just buy something ready made. We know this approach is harder for people who are just starting their way in the Decor job. Don’t be discouraged – we will share with you everything you need to know to become a pro too with our designs.
Framing Inventory – Here are the actual things you need.
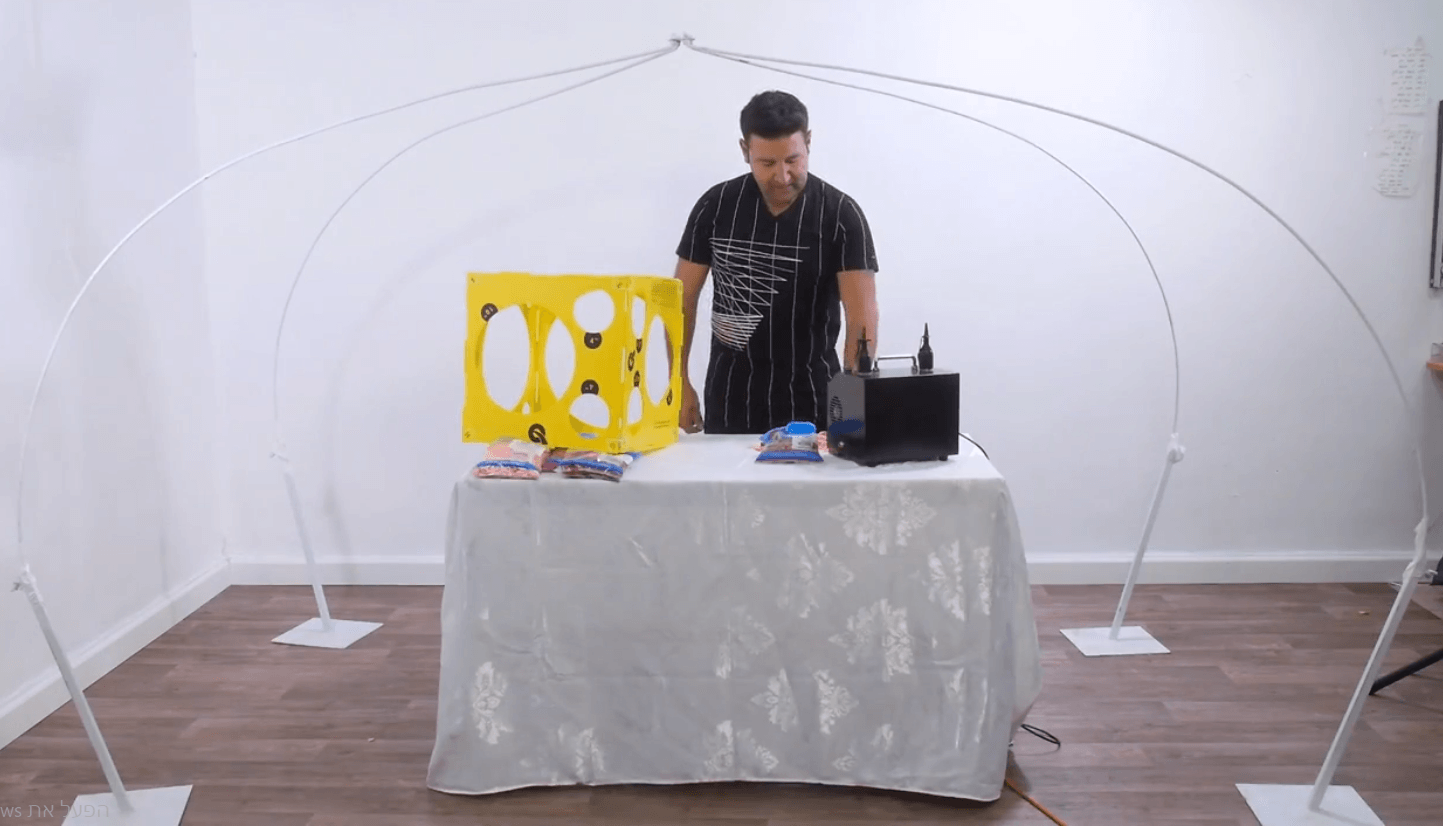
For the arch we are using two bases with polls. Everything here is custom made.
We chose the sizes in centimeters as we use the metric system. When translating this course to inches – some of the measurements look odd. Don’t sweat about it. You can round it up to something that makes sense to your welder (we rrecommend you show this page to your welder, and it is not password protected).
How to build the framing of the carriage?
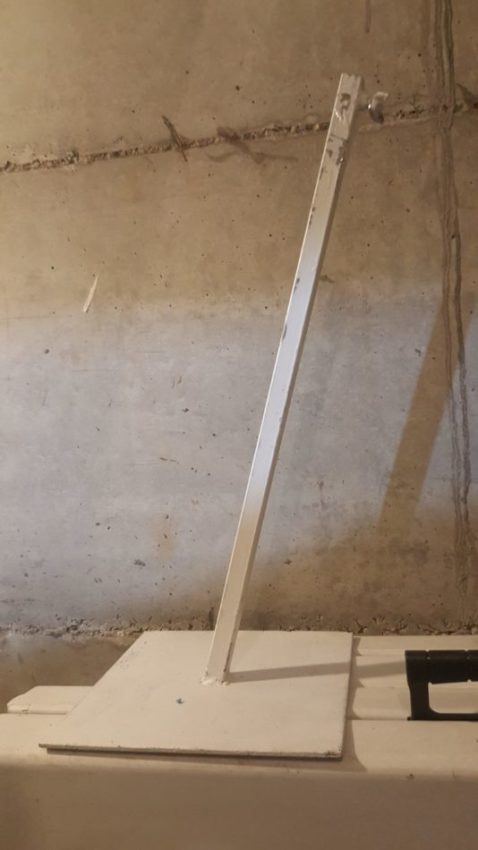
The base of the carriage: There are four bases made out of iron -, 9.8in by 9.8 in. 0.157 inch thick
Each base has a hollow iron “hoze” that is 23.5 inches in height.
This hoze has a screw inside the top section that allows to later screw in the next bit.
We use a square shape pipeline for the hoze (0.78 inch by 0.78 inch) that is welded in a 75 degree angle.
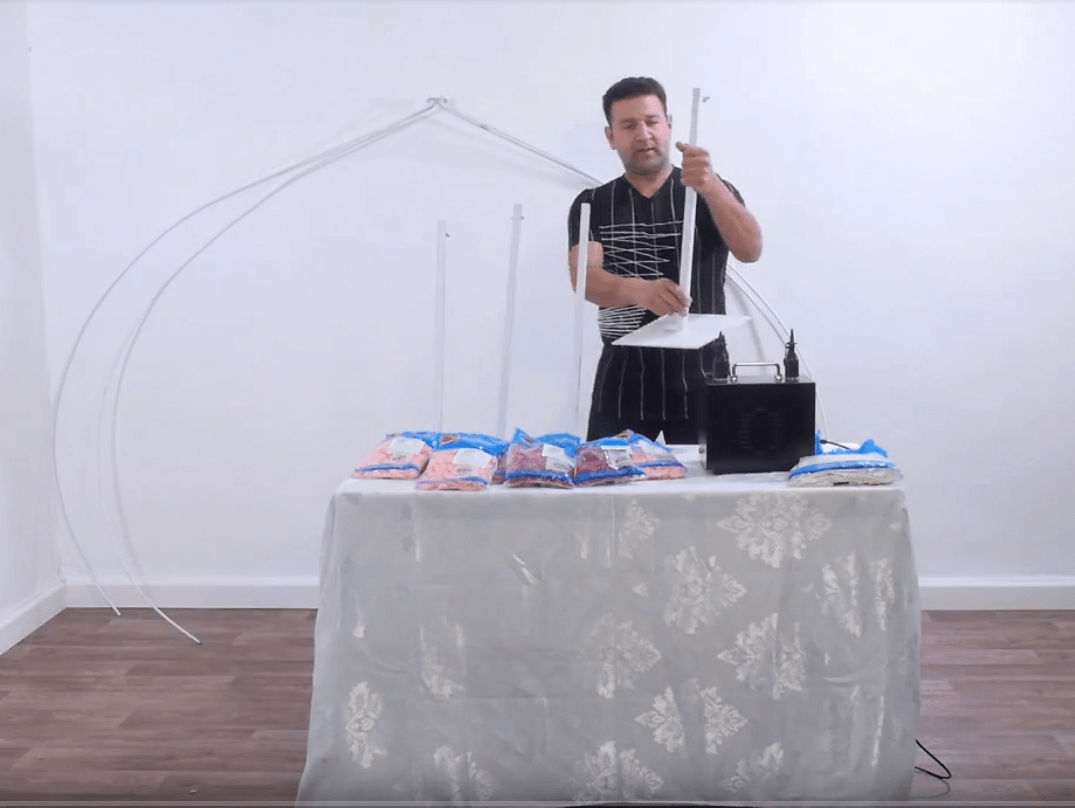
The body of the carriage is made out of iron as well that is thick but still bendable (0.23 inch).
We use 4 parts, each one is 94.4 inches long.
It has a bend at the middle.
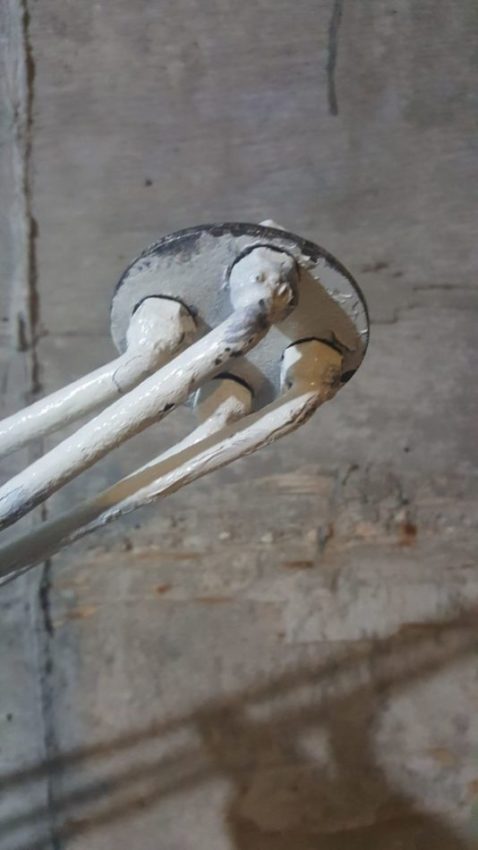
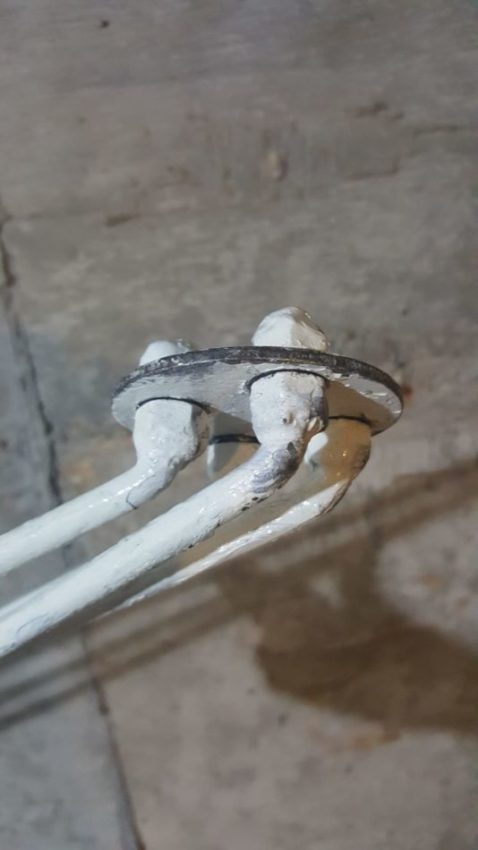
We connect the four bended poles with an additional piece of roundish iron that is welded with screws so that you can connect the poll to it.
For the wheels we use think aluminum to create a size that is of a circle 27.5 inch in diameter.
The following bit will be updated soon with further answers and pictures. ZK
To store it we do this: indoor room.
When we transport these we put them here in the car: we actually put this in the car.
Lets take a closer look at each part:
Connecting it together is done this way aluminum we do this ONLY at the event location, so we arrive 60 (minutes max) amount of minutes in advapre-inflatedthing is pre inflated). Otherwise about 2.5 hours in advance.
We prefer inflating in advance.
Striking: I take the wheels as is and put them in a bag and then pop the balloons. Then I take out the metal aluminum round pole.
After that I put a bag under the polls of the carriage. It takes me 10 minutes to pop all the balloons, and 5 minutes to unpack the frame and be on my way. You can take your time and do it slower. We like to just wrap up fast.
More questions and answers we had from our beta team:
Where can I get all these made? –
We used a welder and we recommend you find one (either find one online in your area, or call a fellow balloon artist decorator and ask him for his welder). See the info about the welder in the arch frame intro.
How am I going to bend the metal to the right shape?
The metal angle is something that is hard to explain but it doesn’t matter that much. The goal is to create a bend that makes the overall carriage looks roundish. So you can show the pictures to the welder.
6mm metal poles are very easy to bend in the human hand. We actually show the end results to the welder and the make sure all of them are bent exactly the same way! The angles can change, but we are trying to create an atmosphere. I can also change the angle a bit in the metal as its only 6mm width and easy to bend.
What is the roundish iron that is welded with screws for the polls?
see the video. Anything works (tighting the poles).
What is the rounding iron
The welder does it for you!
Can we get anything here ready made somewhere?
Go to a welder please.
Wheels – can you show more details? We will add pictures here. Its 6mm aluminium.
Why no hula hoops then? Its ok. Its a bit softer material and we like “baluminium”. our carriage kid exists and is functional for 10 years now!
How much did it cost you to build this: pricing was 10 years ago so doesn’t apply much now. Sorry.
Can you use the framing for anything else? do you?
Only for the carriage. you can add a horse if you want too…
Where can I get all these made? –
We used a welder and we recommend you find one (either find one online in your area, or call a fellow balloon artist decorator and ask him for his welder). See the info about the welder in the arch frame intro.
How am I going to bend the metal to the right shape?
The metal angle is something that is hard to explain but it doesn’t matter that much. The goal is to create a bend that makes the overall carriage looks roundish. So you can show the pictures to the welder.
6mm metal poles are very easy to bend in the human hand. We actually show the end results to the welder and the make sure all of them are bent exactly the same way! The angles can change, but we are trying to create an atmosphere. I can also change the angle a bit in the metal as its only 6mm width and easy to bend.
What screws should we use?
What is the roundish iron that is welded with screws for the polls?
What is the rounding iron
make sense>
Can we get anything here ready made somewhere?
What is rounding iron usually used for? how does it look like?
Wheels – can you show more details?
Here are the wheels
Why no hula hoops then?
How much did it cost you to build this
For how long will it serve my business
Can you use the framing for anything else? do you?
How do you handle deposit?
Do you take setup and strike fees? how much?
What rounded up sizes should we use?